Despite having a throttle body that is both tilted, and in close proximity to the rear window, making a cold air intake was surprisingly simple.
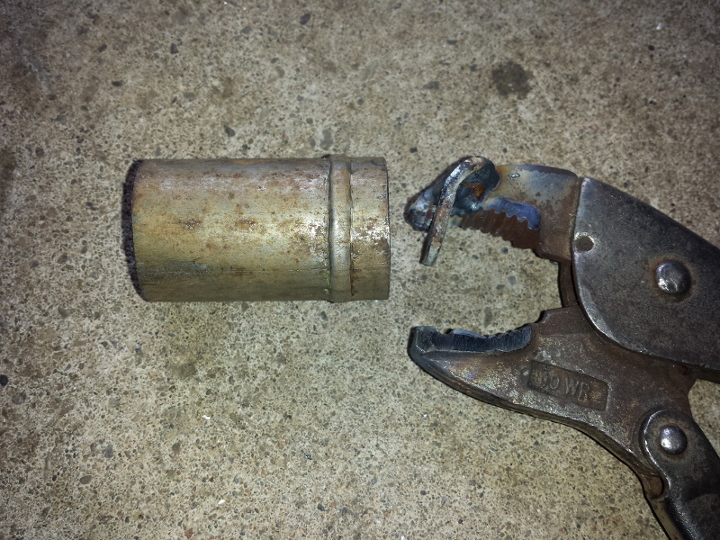
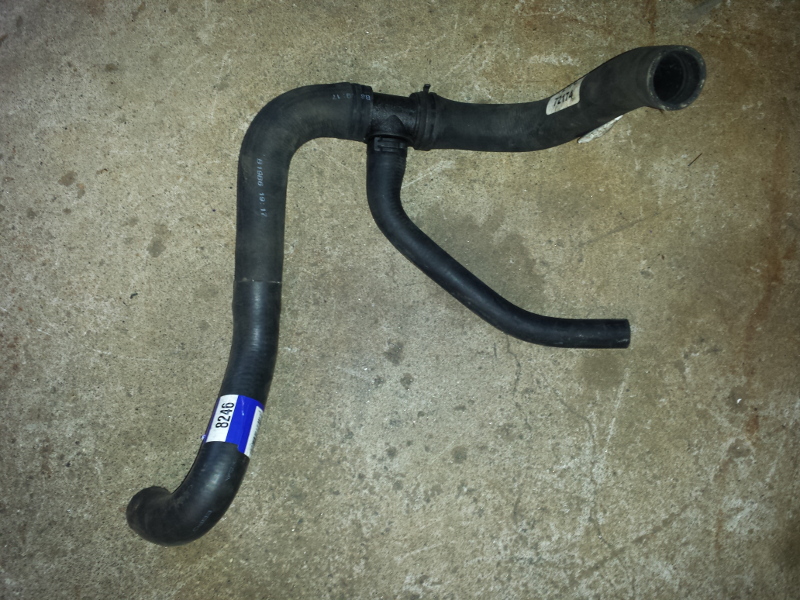
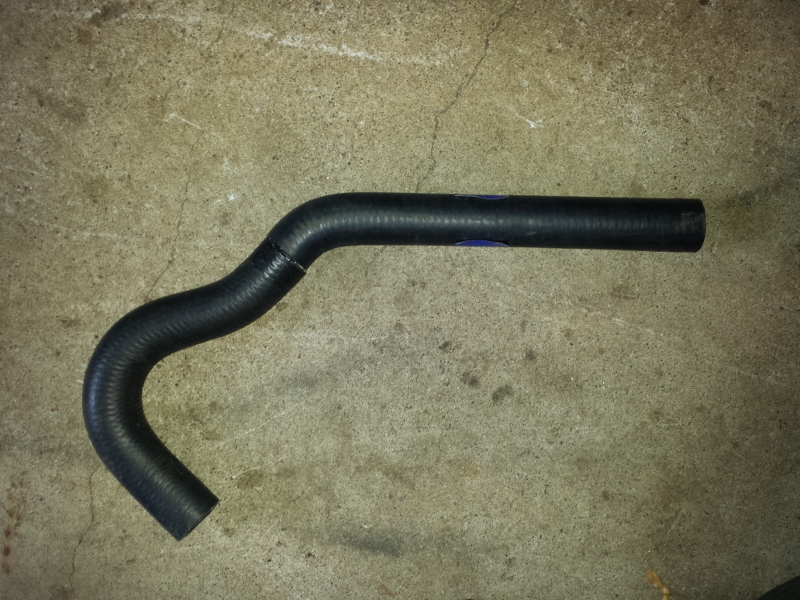
I started with a silicone transition elbow from Vibrant Performance. It had one end 2.75" and the other at 3".

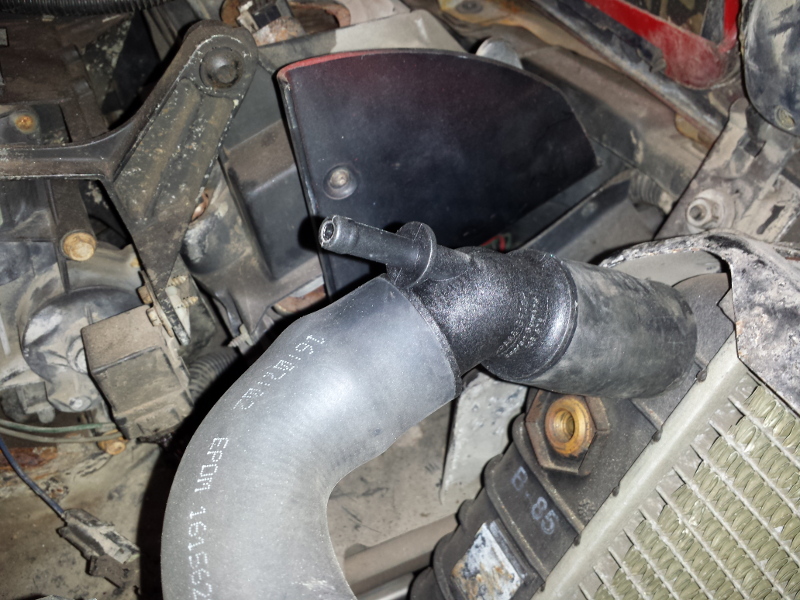
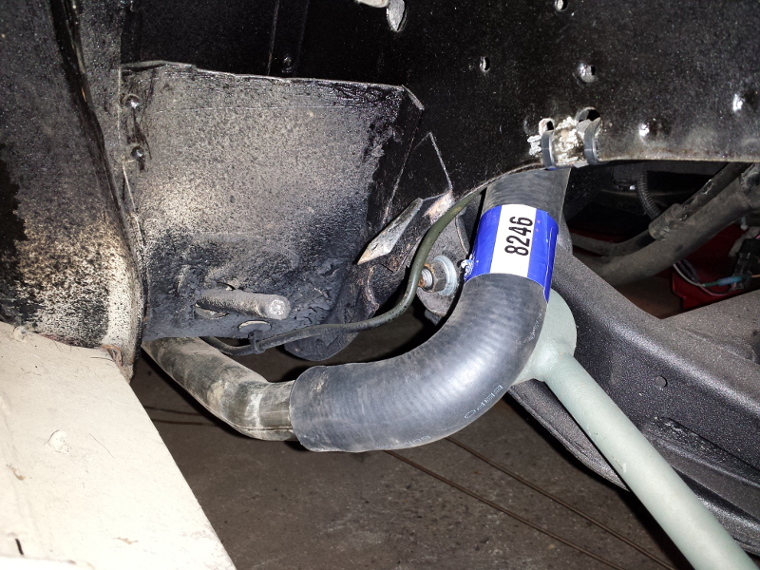
After a little trimming, here is what it looked like.

I had to remove the throttle cable holder and clearance it as well. You can see the original versus the one that I cut down.

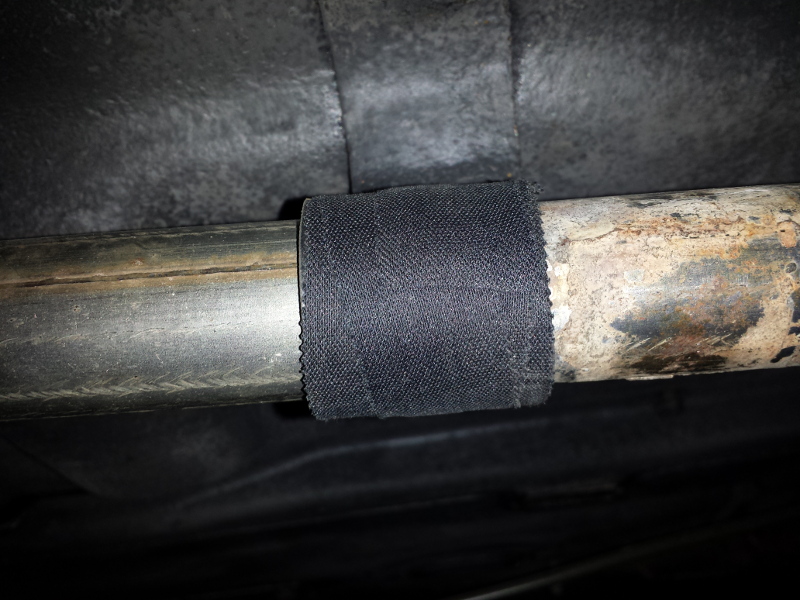
Then, I placed some loom to prevent chafing.

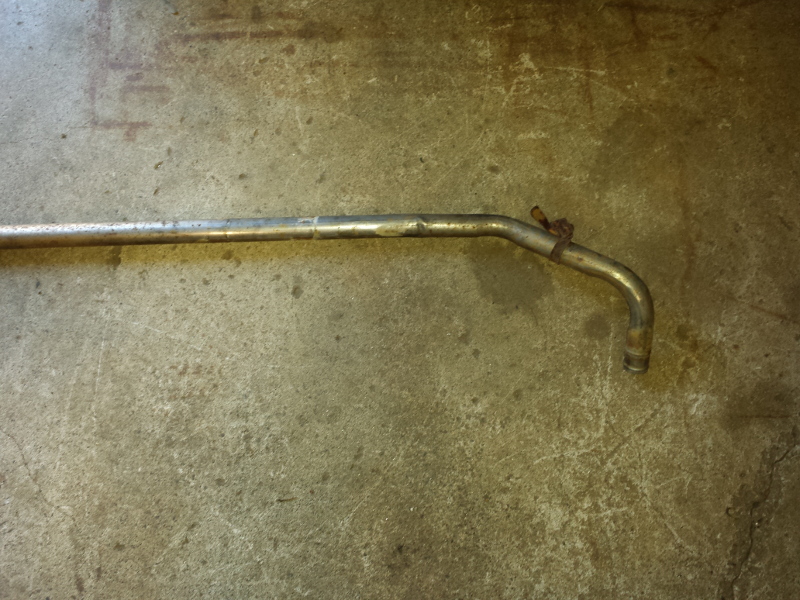
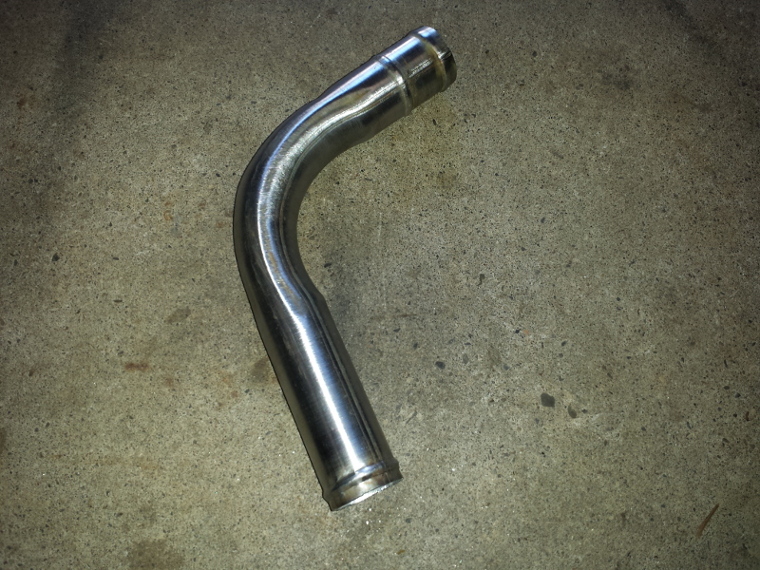
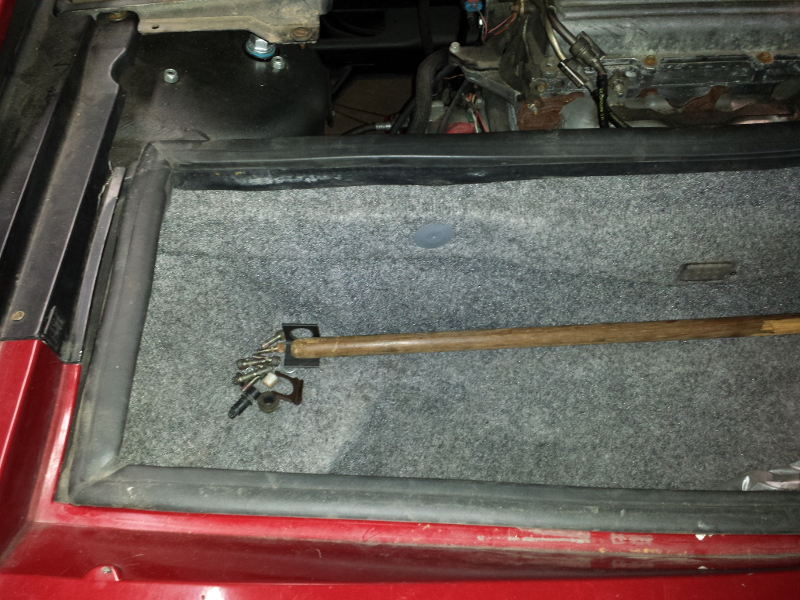
After seeing the elbow cleared, I took the old antenna and formed it into a pattern for the intake tube.

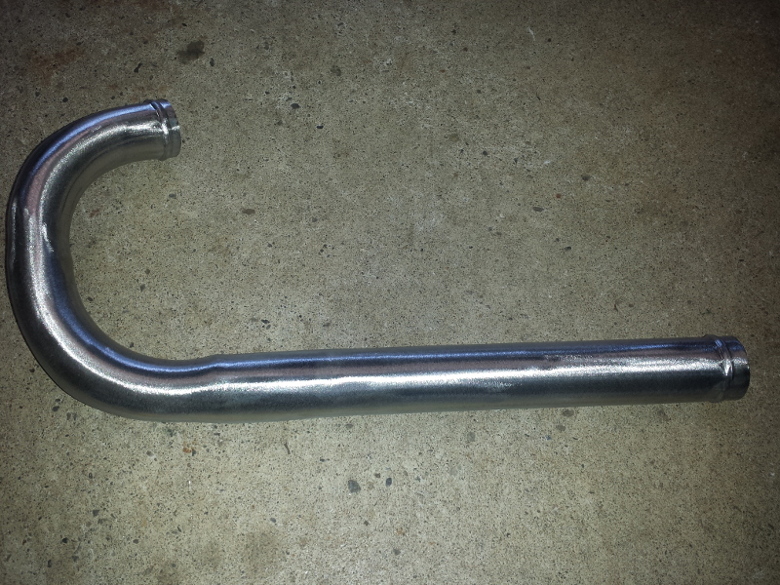
I went into my local Midas Muffler, bought a piece of 3" aluminized tubing and used their bender.
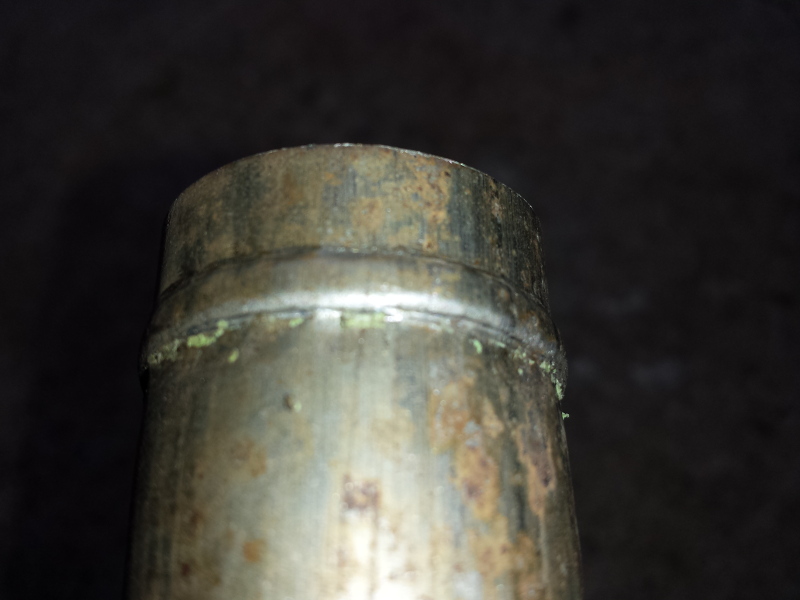
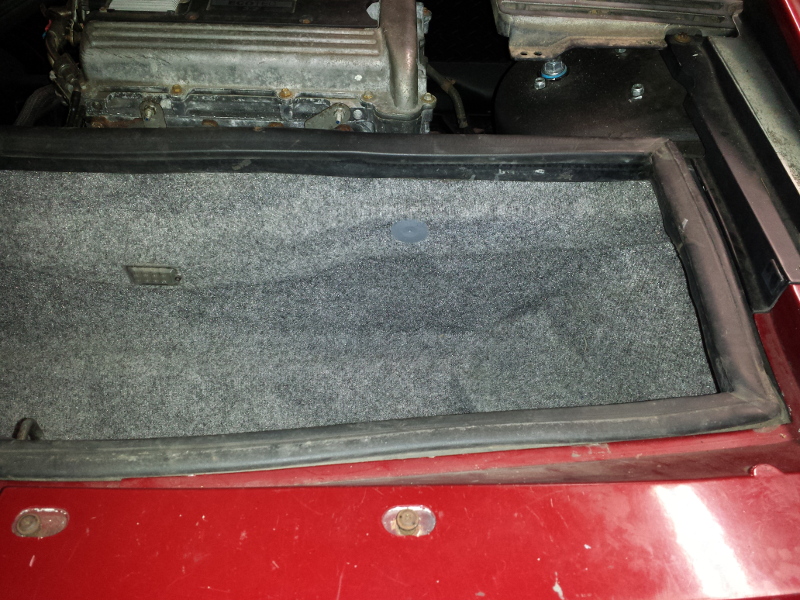
This is the result.

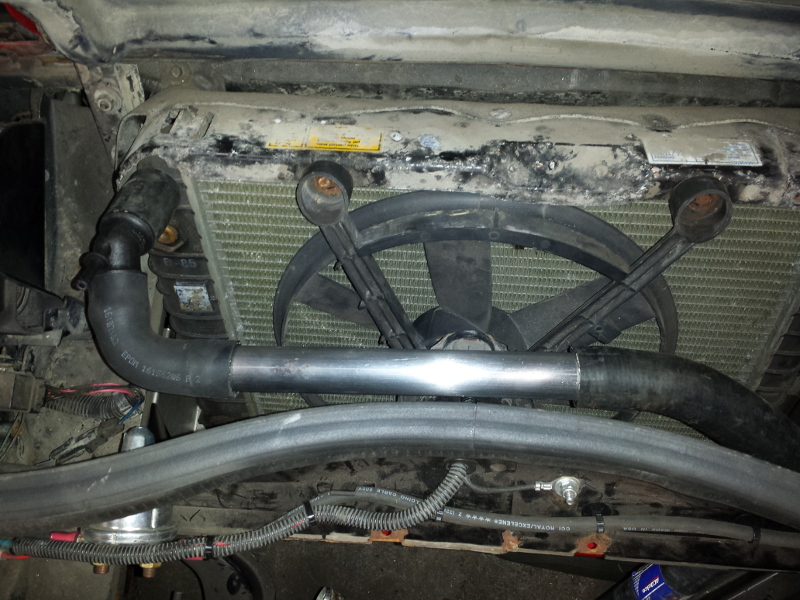
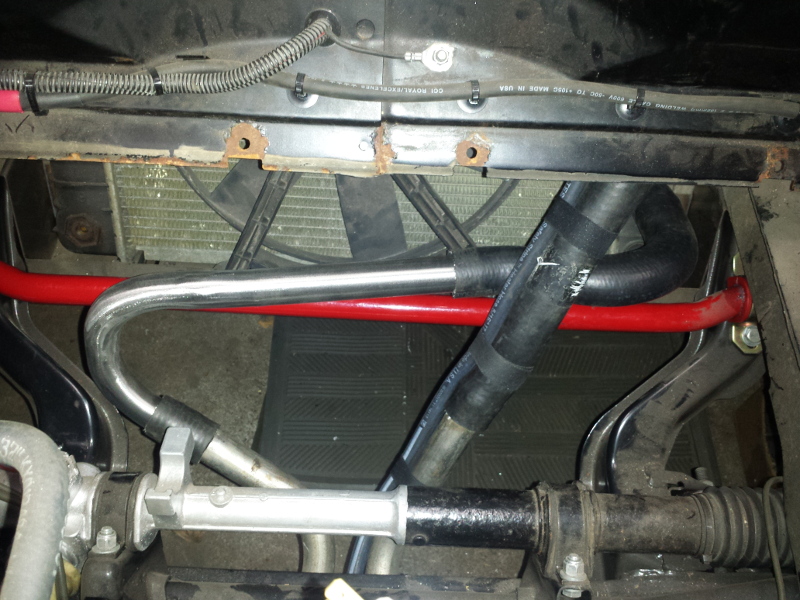
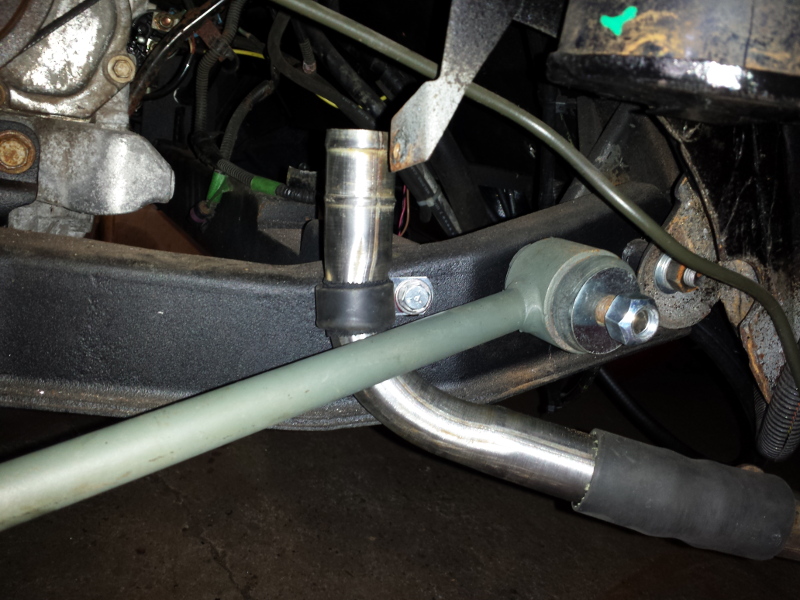
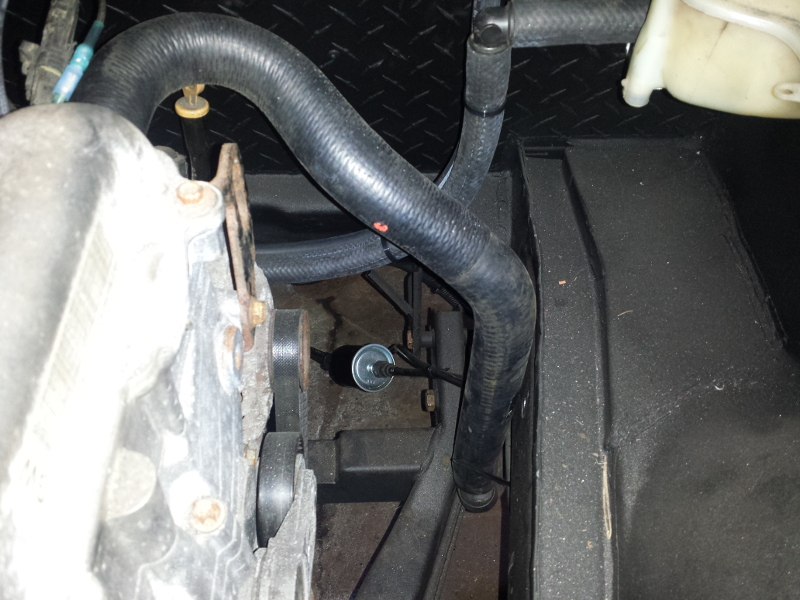
As you can see, it fits well. I then drilled two holes. One for the IAT sensor and one for the fuel pressure regulator vacuum.

From this photo, you can see the air filter.
Note: I still need to add a bracket to hold the intake tube secure.

Then came time for some exhaust work.
Using these components, I made a system. It's tucked up tight and fits well.
Note: Yes it's loud! Too loud. I'll have to find some short mufflers.

A view of the shortest catalytic converter that I had.

Underside view.

Cadillac STS tailpipes loosely installed.


Since the car starts and runs, it's now time to make it shift.
Here is the issue that I encountered. The shift arm is placed at an angle that doesn't work for me.

While others have had custom cables made, I chose a different approach.
I wanted to utilize the stock 84 four speed shift and select cables.
I removed the shift assembly from the F23.

Then disassembled.

Here is the stock shifter base.

I made a CAD drawing and cut it on the laser.

Then I cut off the boss for the select shift lever.

Here are the new and old pieces side-by-side.

As you can see, I also made two new arms for the select lever operation.

Since my base plate is steel, I can weld my arms wherever I feel they're best suited.

After some measuring, I filled the original dowel hole with weld. I then drilled a new hole in order to clock my shift arm into a better suited position.

Of course the F23 ball stud didn't fit the 84 shift cable.

Here, I removed the original F23 ball stud.

Drilled and tapped the hole to the pitch of the original 84 Muncie ball stud.

Here is the 84 ball stud on the F23 shift arm.
Note: I removed some material from the weight for clearance.

While I did install a nut, it might have to be replaced with a thinner one for clearance.
New base is installed.
I've used the original base, since it has the seal, and installed my new steel plate over top.
There is a small gap that will be filled prior to final installation.

Followed by the re-clocked shift arm.
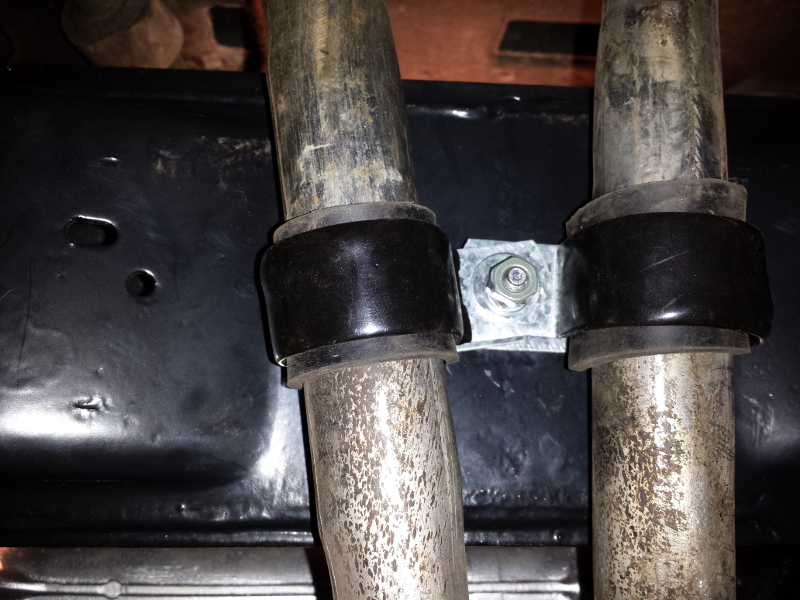
While it looks close, the weight on the left actually clears the frame rail.

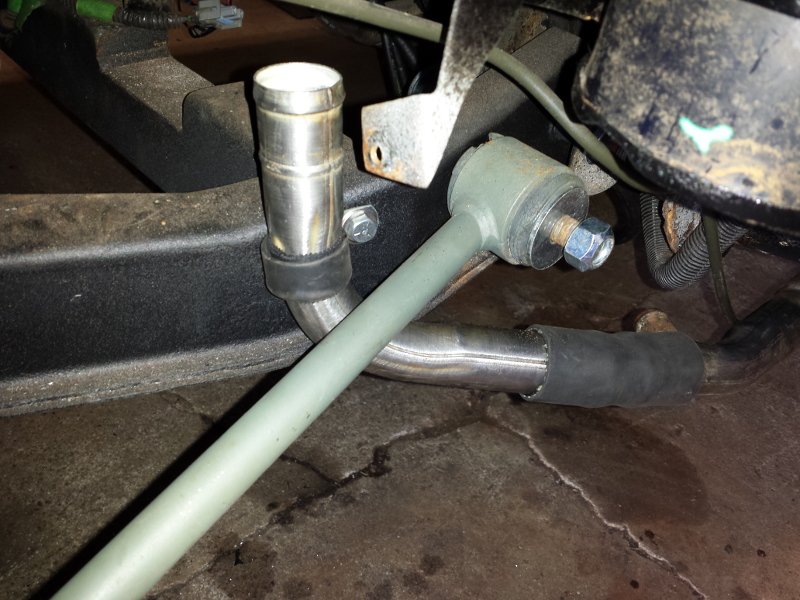
The shift cable has to fit in this vicinity.

That lead me into a way to mount the cables. Back to the drawing board, I ended up with this revised design.

I now have room to secure the shift and select cables.

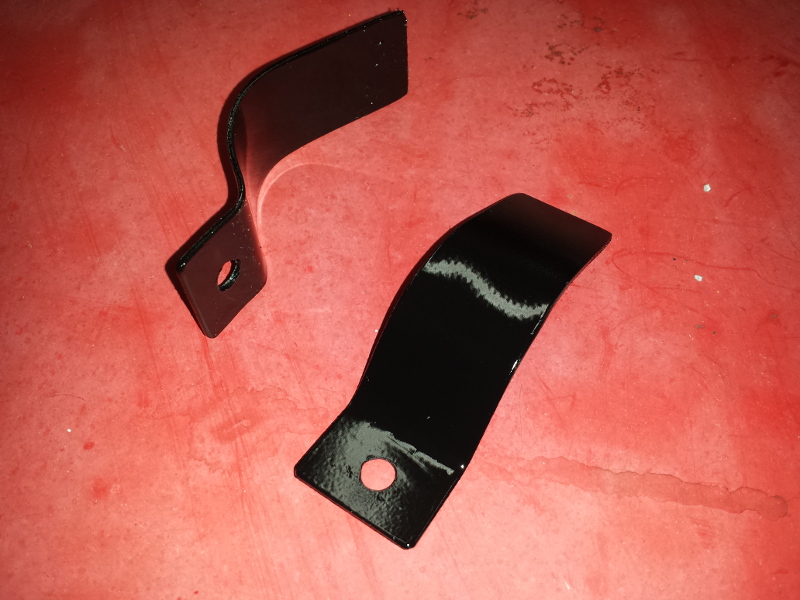
Simple angle iron turned into the cable holders. Easy peasy.

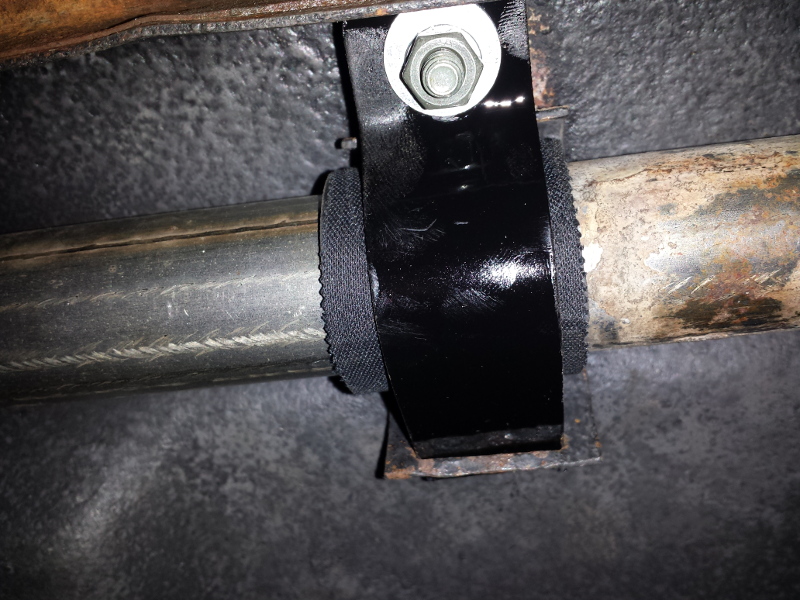
It looks like this will work for the shift cable.

In the last photo, the cable was mounted too high.
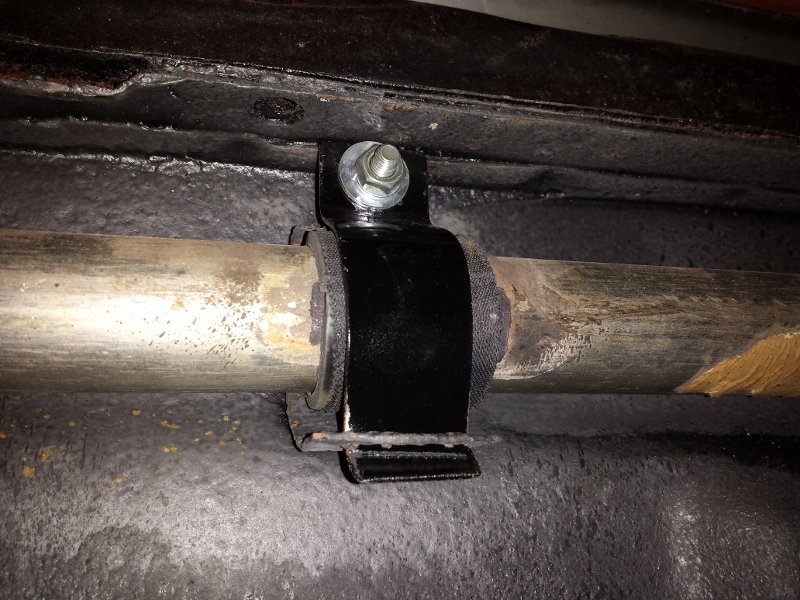
This is far better as it allows full range of motion from the shifter.
Note: I'll mill slots into the angle iron thus allowing adjustability and fine tuning of both shift and select cables.


The stock 84 cables clear everything just fine.